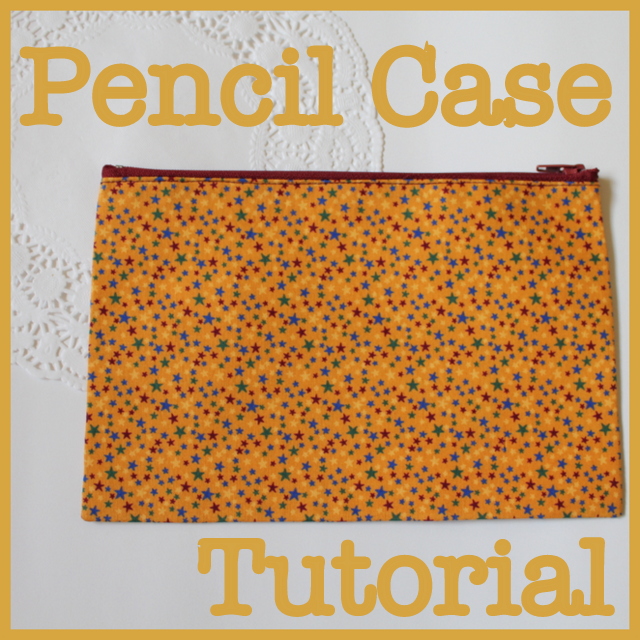
One of the things I sew the most lately is pencil cases. Now I call them “pencil cases” but really they are a pouch with a zipper so they could just as easily be used as a makeup bag, a phone case or an iPad case. You could just adjust the size of your rectangles and your zipper to make anything from a mini coin purse to an art folder. If you want a more padded protective case, use wadding or iron-on pellon instead of interfacing to give it bulk. So let’s get started:
What you will need:
- fabric - two rectangles 9″ x 6″ (23 x 15cm)
- iron-on interfacing - two rectangles 8.5″ x 5.5″ ( 22 x 14cm)
- zipper - 8″ or 20cm
- usual sewing supplies - thread, sewing machine, scissors, pins, etc.

Step 1:
Iron your interfacing onto the wrong side of your fabric. Trim one long side with pinking shears to stop fraying.

Step 2:
Pin your zipper to the right side of your rectangle (along the pinked edge) with the right side of the zipper facing the fabric. Sew it on using your zipper foot.
Tip: When you get about half way along your zipper, stop sewing with the needle down in the fabric. Lift the zipper foot and carefully open the zipper so the zipper pull is at the end you’ve already sewn. The needle in the fabric will stop the piece from shifting. Lower the zipper foot and keep sewing the rest of the zipper into place.

Step 3:
Pin the other rectangle of fabric onto the zipper with the right side of the zipper facing the right side of the fabric. The two pieces of fabric should be right sides together. Sew the zipper into place.
Step 4:
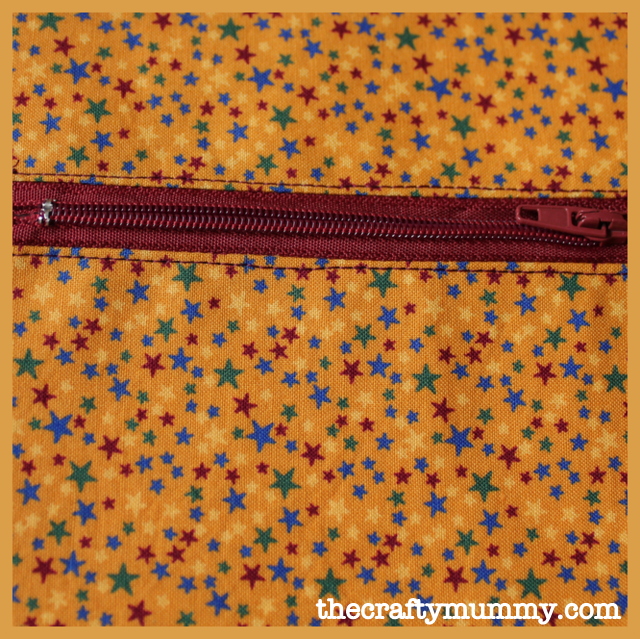
Iron the pieces open with the zipper sitting flat underneath. Stitch along each side on the zipper again to create a nice finish and hold the zipper flat.
Step 5:
Open the zipper up. (Really important step! Trust me!)
Step 6:
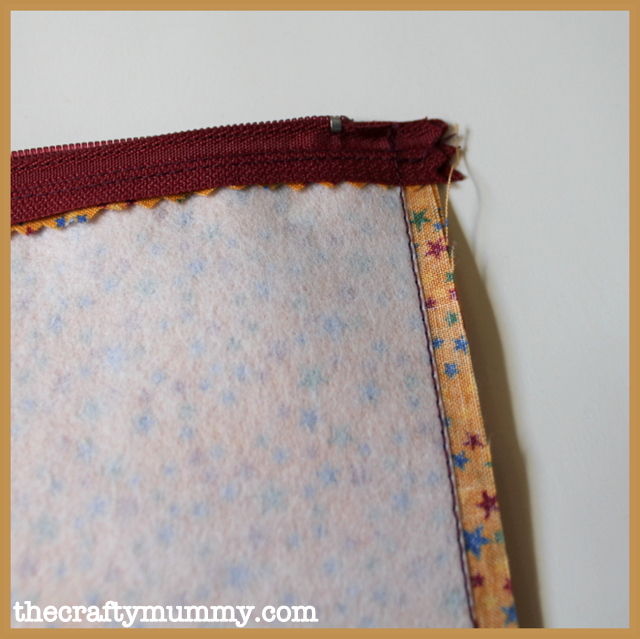
Pin the rectangles right sides together and stitch from one end of the zipper, down the side, across the bottom and up the other side about 1/4″ from the edge.
Step 7:
Trim with the pinking shears and turn through. (If you missed Step 5, check out this tip to open the zipper) Press and you’re done!
Notes:
- Your interfacing should be half an inch or 1cm less on each side than your fabric rectangles
- If you don’t have pinking shears to trim the edges, you could zig zag or overlock the edges instead to stop fraying.
- I have listed some more common pencil case dimensions in this post at The Crafty Mummy.
- I mostly buy my zippers from Zipit on Etsy.
- If you’re not up for the sewing, I sell pencil cases in my Madeit store.


Tonya is the voice behind TheCraftyMummy.com. She dabbles in lots of different crafts – patchwork, quilting, cross-stitch, scrapbooking, knitting, crochet and sewing. She also writes about blogging and social media.






 DIY: Sewing Machine Extension Table
 How to Sew a Simple Pencil Case
 Bookmarks for Mother's Day
 Christmas Trees on Pinterest
 Big Blue Tote




Zips always look scary to me, but you make that look so simple that even I could do it!
Cate recently posted..words on wednesday | way too busy
I used to think so too, Cate, but this is a good place to start practising
CraftyMummy recently posted..FaveQuilts
Thanks Amy
This tutorial is actually from Tonya, Trish. But it is easy to confuse us here
Thanks for RTing this post for us too!
Amy x
Amy @ MahliMoo recently posted..Finding our rhythm
And I’m totally flattered to be confused with Amy!!
CraftyMummy recently posted..FaveQuilts
I was commenting after 2 nights of very little sleep and 5am wakeups - I just didn’t look carefully enough - I want to make one (two) anyway

Trish recently posted..No more tears with Tefal Fresh Express
I’d love to see pictures when you do, Trish
CraftyMummy recently posted..Top 10 Posts in April
That’s will be lovely present for children and adults. Thanks for sharing.
The Sewing Bug recently posted..Seaside Picnic Cover