
This tutorial is going to teach you the steps to make a cross stitch gift tag. But you can also use this technique to finish your cross stitch into a card. It’s a great way to finish a tiny cross stitch. Particularly when you want a quick finish.
Supplies
- Finished Cross Stitch
- A cardboard tag/or card that can be cut in tag shape.
- Twine
- Scissors
- Double sided tape - You can use glue but the tape is much easier and less messy.
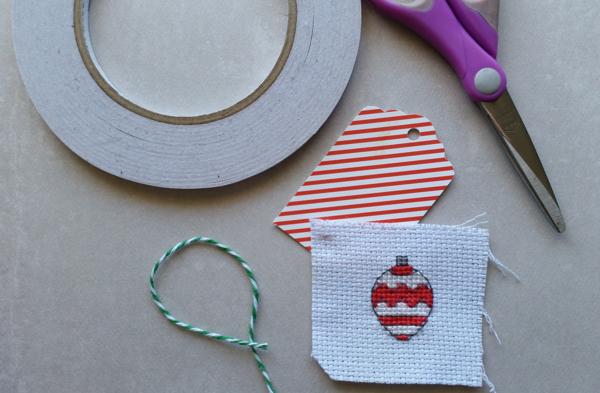
Step 1
Cut around your cross stitch along a line of holes on the Aida. I like to make sure that I am cutting the same width out from the design on all sides. It just looks neater.
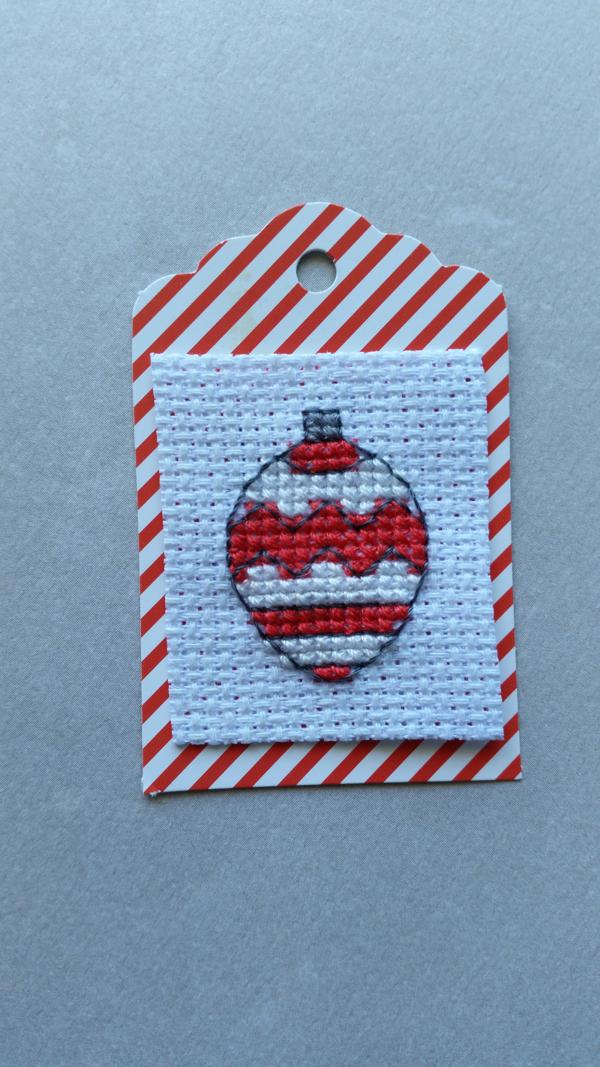
As you’re going check on the shape and make sure it fits on the gift tag. Too big will look silly but also don’t make it too small.
Step 2
I like to fray the edges to make it look nicely finished. Going carefully undo the edge for one square around each edge.
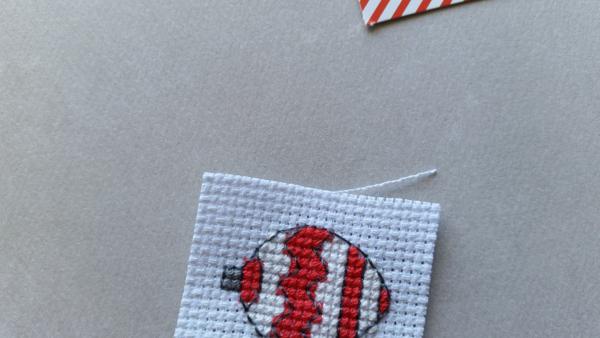
You’ll end up with nicely frayed edges and a pile of neat pieces.
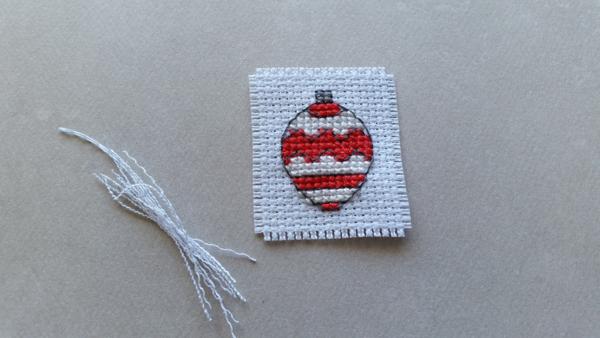
Step 3
Grab your double-sided tape and cut it to sit around the back of the cross stitch like below.
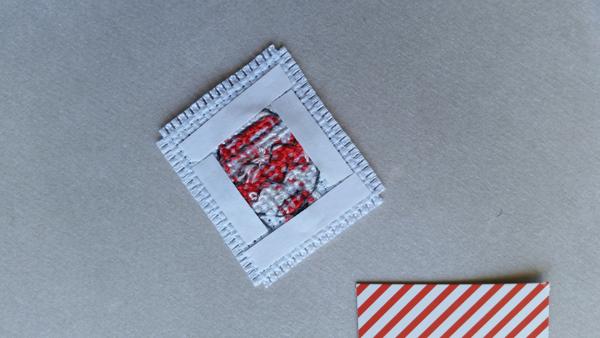
Push the tape down solidly before trying to peel the backing off and stick it down to the tag. If the back doesn’t come off easily rub it and try and adhere it solidly to the cross stitch.
Step 4
Tie the twine onto the tag.
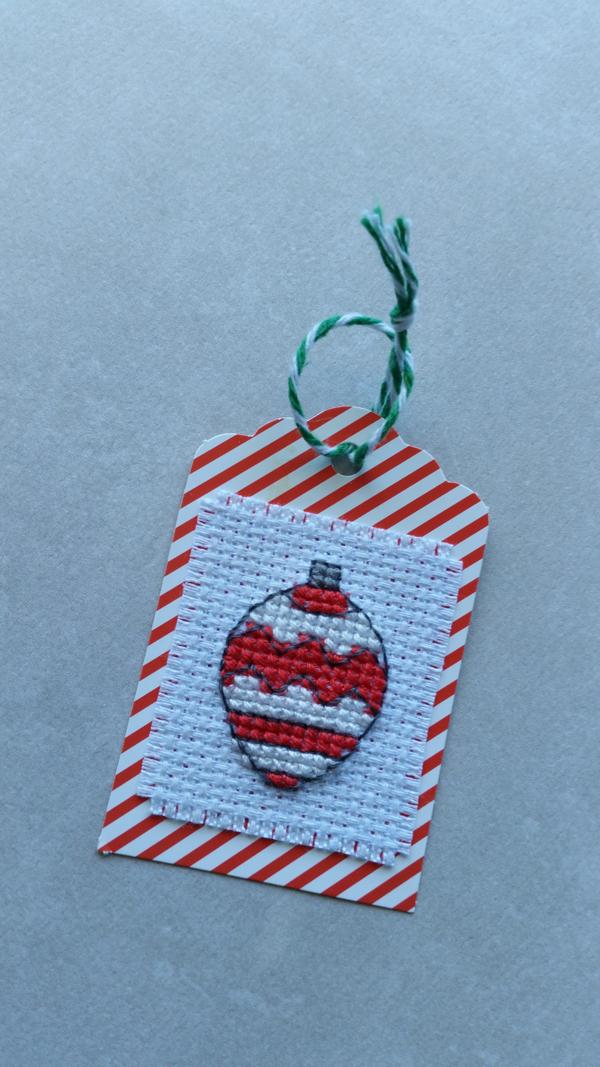
FINISHED
There you have it your cross stitch is finished. Enjoy the finished tag and use it to decorate presents this holiday season.
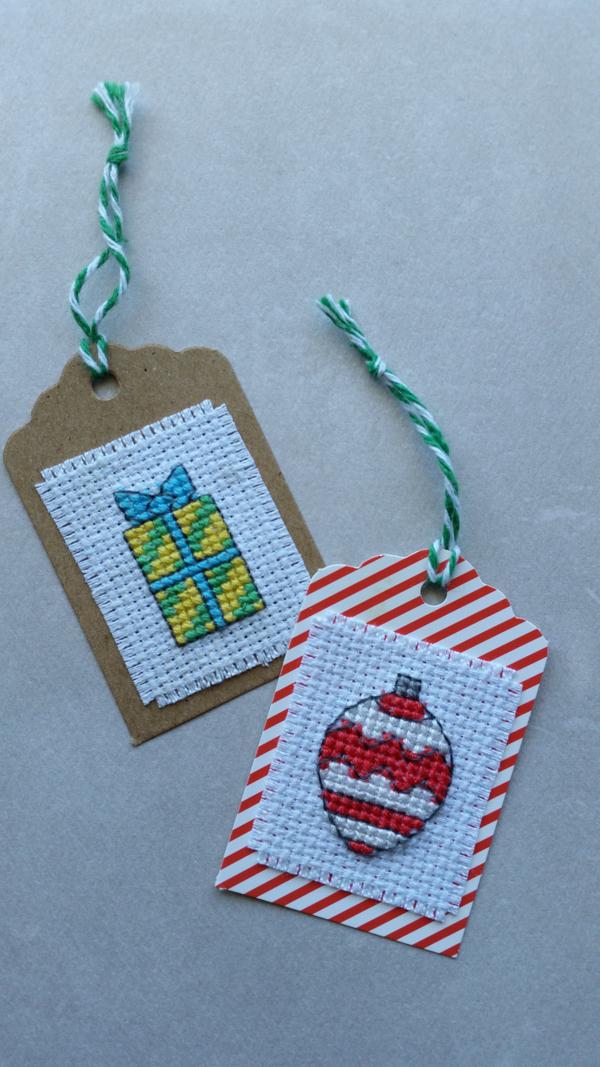
Happy Stitching,
Caitlin

My mother taught me to crochet when I was 9 and I was hooked. Since then I do any craft that tickles my fancy which at the moment includes cross stitch, knitting, crochet, quilting and sewing toys and clothes. I like to always have something to do.







 Crochet Along: Let's Start!
 DIY: Sewing Machine Extension Table
 Crochet Along: How to Change Colours



What a fab idea, Caitlin. They look great.
Actually Amy recently posted..My Top 5 Baby Sleeping Tips
I love this idea, but I think I’m going to use it for Christmas cards instead. Thanks for sharing!