

My Little Miss needed some new clothes so I decided to make the easiest skirt ever with some purple thrown in for Purple Week. Lucky purple is one of her favourite colours!
What You Will Need:
- Main fabric (mine is denim) about 30cm across and the width of the fabric roll
- Second fabric (mine was purple cotton) 2 pieces about 12cm wide and the width of the fabric. Join these to make one long strip 12cm wide
- Elastic to go around the waist
- Usual sewing supplies
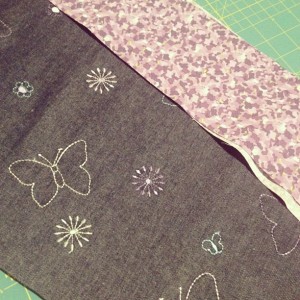
What To Do:
1. Hem one side of the purple strip to hide the raw edge
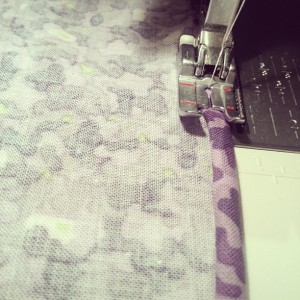
2. Zigzag or overlock the other edge of the purple strip to stop fraying
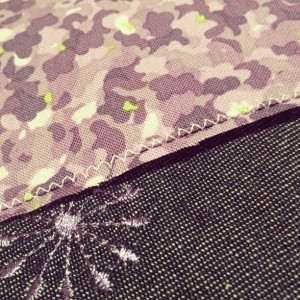
3. Sew a gathering stitch down the zigzagged edge of the purple strip.
The easiest way I have found to do this: Set the stitch length to the longest setting (on my machines that’s 6). Hold the top reel of thread in your hand to create a little extra tension. Start sewing. As you go you’ll find the fabric gathers! Leave plenty of tail thread at each end for adjusting the gathers.
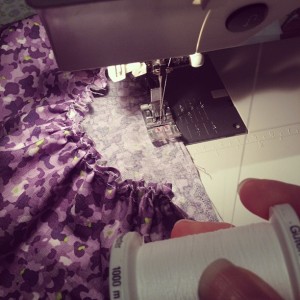
4. Lay the gathered strip along one edge of the denim piece. Adjust the gathers so that they are the same length and pin right sides together. Sew into place.
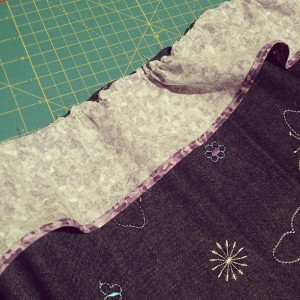
5. Flip the gathered piece over and iron flat. Top stitch about 2mm from the edge to hold it all flat.
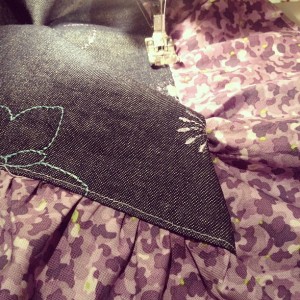
6. Fold the whole lot in half so the short ends meet, right sides together. Stitch those two ends together. Open the seam and iron flat.
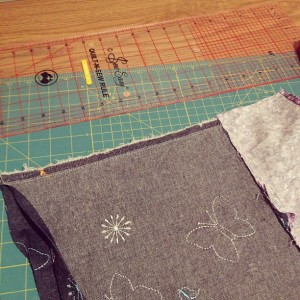
7. Create a casing for the elastic around the top: Fold the edge down about 5mm and iron. Then fold it over again about 1.5cm and iron. Pin if you need to, then stitch around the bottom of the fold, leaving a gap of a couple of centimetres for threading the elastic.
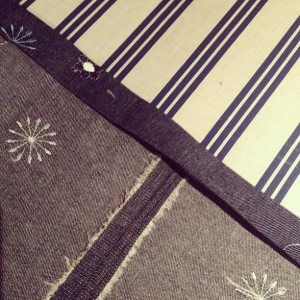
8. Thread the elastic, stitch the ends together and tuck into the casing to hide them. All finished!
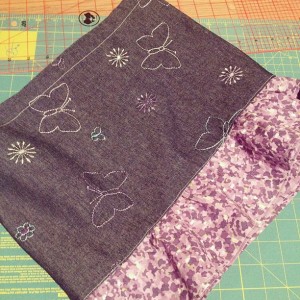
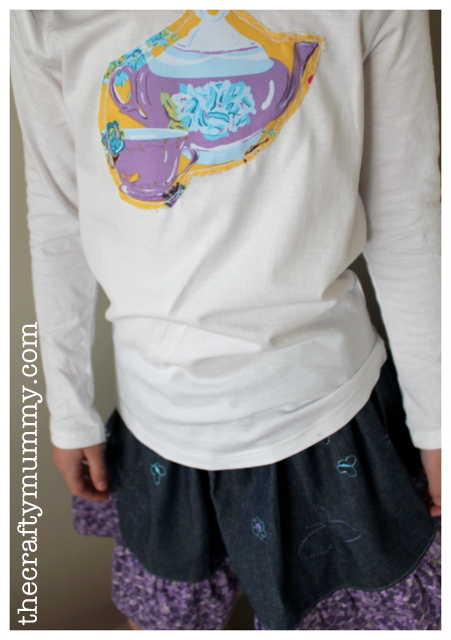
I also created a matching applique T-shirt. You can find the tutorial over at The Crafty Mummy.
Notes:
- My little girl is 8 years old now and this skirt is nice and full on her. I made skirts like this when she was younger too so they will work for any age.
- If you want your skirt longer or shorter, you can adjust the 30cm strip or the 12cm strip. For example, on a toddler you might use a 20cm strip and a 8cm ruffle strip.
- If you want more fullness in the skirt, or if you are making it for an older child or adult, start with 2 or even three widths of the fabric and join them together for the main skirt section. Don’t forget to add extra widths to your ruffle strip too - maybe 4 or 5 pieces joined together. You’d want them wider than 30cm too - perhaps 60cm or more, depending how long you want the skirt to be.


Tonya is the voice behind TheCraftyMummy.com. She dabbles in lots of different crafts – patchwork, quilting, cross-stitch, scrapbooking, knitting, crochet and sewing. She also writes about blogging and social media.


If you enjoyed this article, please consider sharing it!


2 Responses to Tutorial: Easy Girl’s Skirt
Leave a Reply
Find us here also:


Follow us via Networked Blogs

Want to learn some new skills?



 How to Sew a Simple Pencil Case
 Bookmarks for Mother's Day
 DIY: Sewing Machine Extension Table
 Christmas Trees on Pinterest
 Big Blue Tote
 {Guest Post} Crochet Bike Seat Cover Tutorial
 Tutorial: Baby Doll Sling
 Stars on Pinterest
 How to Spray Baste a Quilt
 Tutorial: Easy Girl's Skirt



[...] sewing a skirt for my Little Miss this week, I got to thinking about how many free skirt tutorials I had seen around the blogs [...]
[...] If you follow me on Instagram, you may have seen my step-by-step photos the other day as I made her a skirt. If you missed it, don’t worry. You will find them all together in a tutorial at And Sew We Craft. [...]