It’s been a few weeks since I shared a layout from our family project life album. This layout is from earlier in the year (quite a few months ago actually!!), but I really like it. There are some nice ideas in this layout for highlighting specific parts of a photo that you want to share. Lets have a look below.
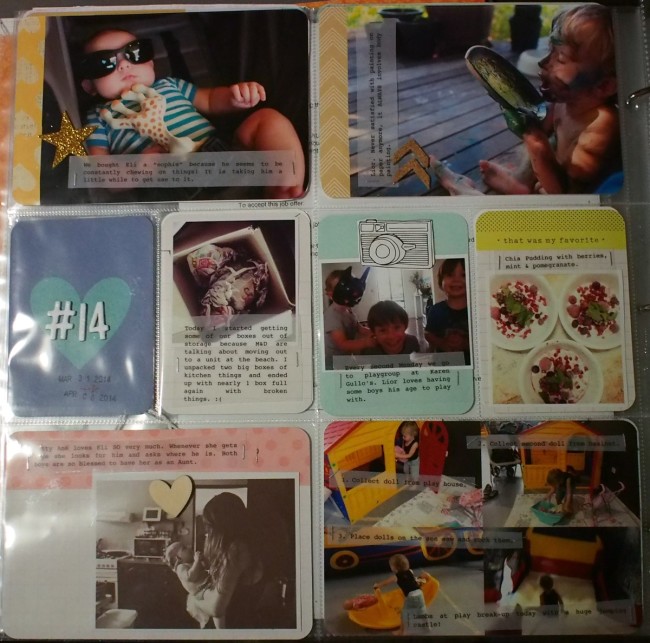
Above: The complete left side. Just a few simple embellishments. I like letting the cards and photos do most of the talking!
Below: Three of these photos go together to tell a bit of a story. I took a photo of Lior at each stage of what he was doing and then turned it into a collage on my computer. This saves space when you have a few photos you want to include to tell a story. You can see below I journalled onto vellum (with numbers to show which order the photos go in).
Above & Below: This week I have a few photos from our first trip to the Ginger Factory - a local attraction. Because it’s our first time and we took lots of photos and had a few little stories to tell I thought I would add it as an insert. I kept it pretty simple - just printing 4×6 photos which I cropped and put patterned paper behind it. Then I printed the journalling on vellum to share the stories. Above is the top side and below is the back side.
Above: Right side of the layout.
Below: Luke & I went to see the Lego movie and took Eli with us as he was only a few months old. I guess it was his first movie (not that I let him watch it!!), and at the cinema they had a board you stick your head through to look like part of the movie. We stuck Eli’s head in, which was super cute! My only problem was that the photos I took didn’t really highlight Eli’s face very much. What I ended up doing was creating a white box over the photo, set to an appropriate opacity, and then cut a circle out of that around Eli’s head to make him stand out! It’s definitely worth a try if there’s a particular thing in the photos you want to highlight!
Above: One last thing before I leave you! I love adding thick white letter stickers like this to full size photos. I think it adds a nice focal point to the layouts, and can be an additional layer of information not necessarily related to the story in your journalling. 🙂
20-something crafter. I love having a go at almost anything!


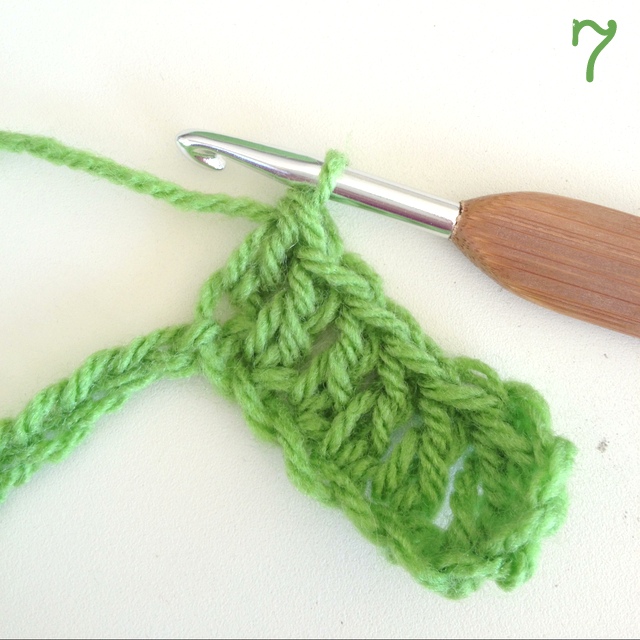 Crochet Along: Let's Start!
 Crochet Along: How to Change Colours
 DIY: Sewing Machine Extension Table
I love what you did for the Lego Movie pic! That’s really clever!
Alyce recently posted..I Quilt Here