I make no claim whatsoever to being a brilliant artist with amazing sketching skills, because IŌĆÖm not and I donŌĆÖt! But I DO thoroughly enjoy designing my own creative journey, whether thatŌĆÖs through quilt designing, or in this case, drawing my own embroidery designs. You see, IŌĆÖve fallen in love with embroidery - beautiful, colourful designs come to life so much quicker than with cross stitch! And itŌĆÖs something I can do on the sofa under a quilt at night! But I want to stitch designs that I love, that have sentimental meaning to me and our family. It all started with my Alyce-kitty embroidery, which has happily found itŌĆÖs forever frame with this stunning hoop from Lecien!
I love having it on my sewing room wall, making me smile when I see it. I continued the Hello Kitty lovinŌĆÖ by stitching up an image off Google images of Hello Kitty in a kimono.
Now I want to continue the Japanese theme, and was going to stitch up something inspired by my Secret Japan book, but decided IŌĆÖd try to sketch something myself. HereŌĆÖs how I did it:
Trace the inner circle of your hoop onto plain paper. Using a pencil, draw out your design within that circle, keeping away from the edge by at least a centimetre or so, so that you donŌĆÖt have to get tricky with trying to stitch right next to your hoop. Go back over your design with a fine marker - I used an Ultra Fine Point Sharpie.
Then transfer the design onto your fabric and stitch away! Again, IŌĆÖm no fabulous sketch artist, but it was more important for me to have something sweet and personally meaningful! And after all, weŌĆÖre our own harshest critics and my family think IŌĆÖm fantastic ¤śē
Post contains affiliate links.
Living in Japan, Alyce spends her days mothering 2 little monkeys, quilting, blogging at Blossom Heart Quilts, and revelling in the fabrics of Japan!


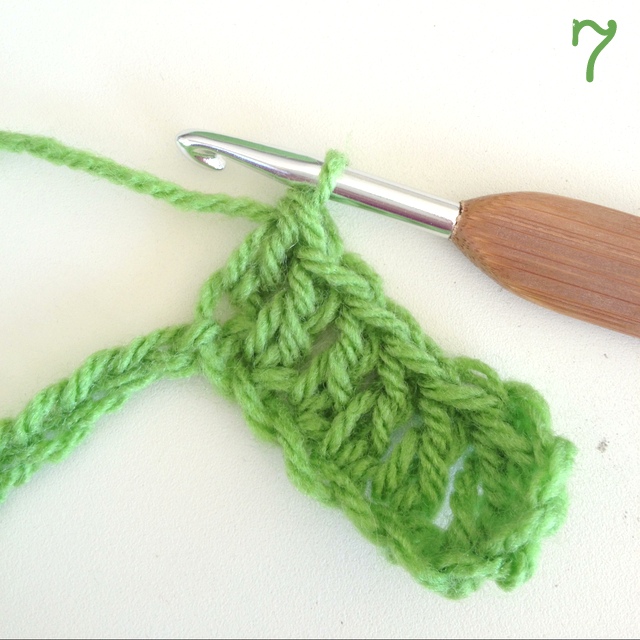 Crochet Along: Let's Start!
 DIY: Sewing Machine Extension Table
 Crochet Along: How to Change Colours

Leave a Comment